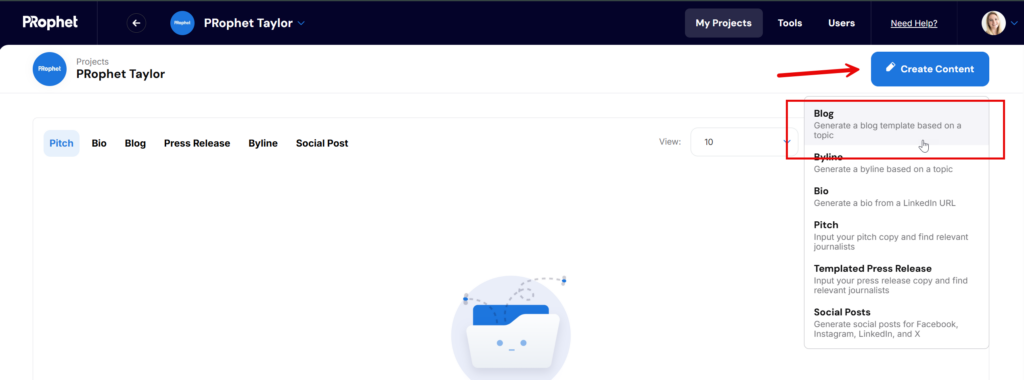
Click into your project folder, select the “Create Content” button, and choose “Blog”:
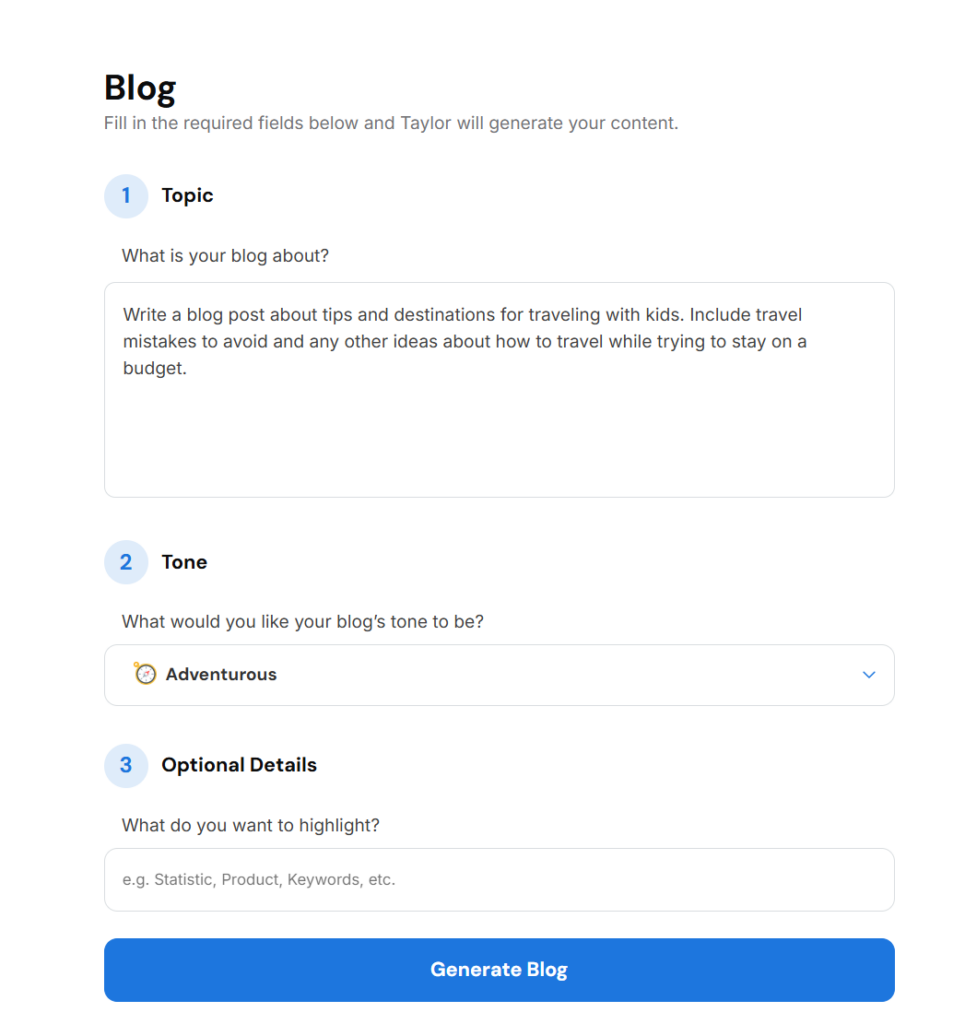
Add at least 30 words into the Topic field to describe what your blog post is about. Select a tone and include other optional details that should be highlighted such as products, statistics, etc.
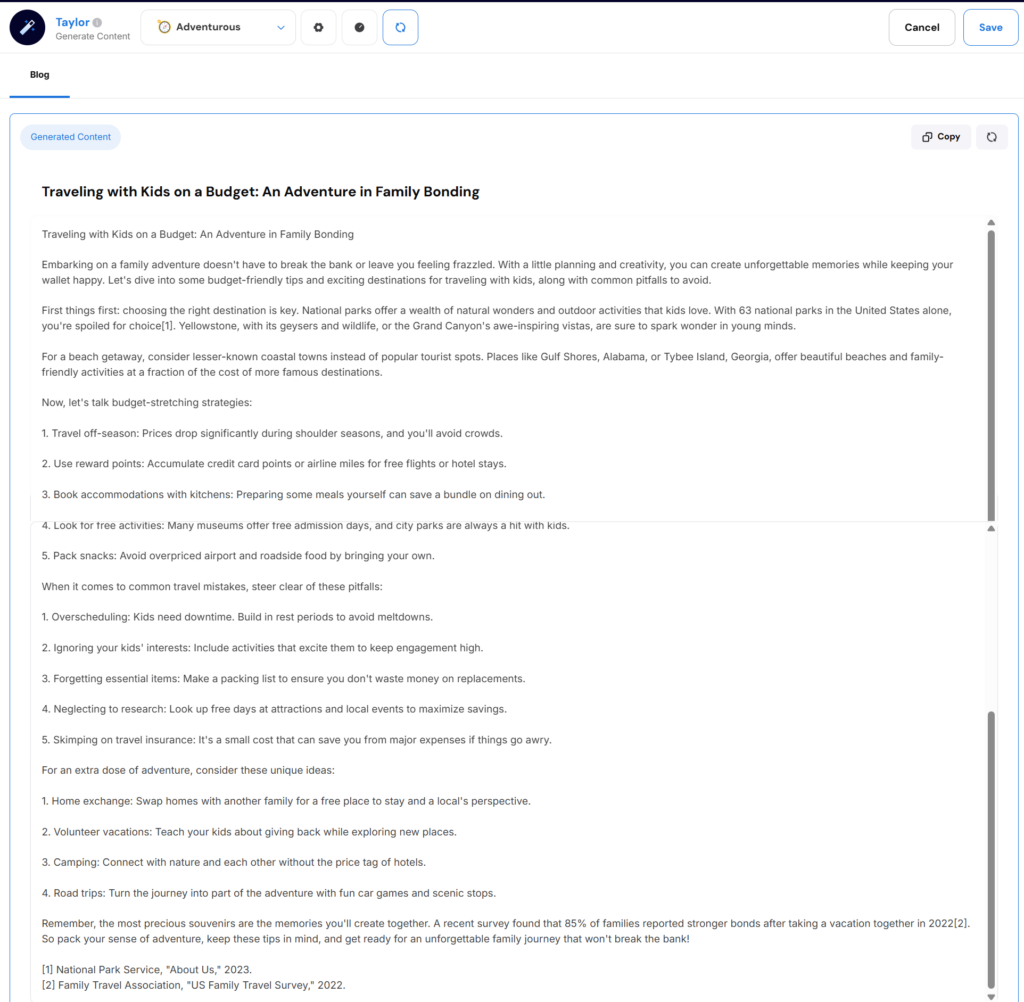
Your blog post will generate within 1-2 minutes. The content that’s generated will include a title, blog post copy, and at least two sources will be cited at the bottom of the post:
Edit any of the content of the blog post by clicking into the text field.
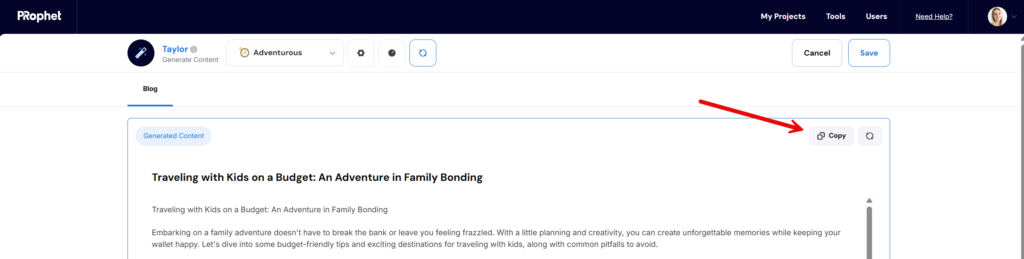
Click on the copy button to copy the blog post:
Regenerate the Blog Post
Click on the Regenerate button at the top of the page to regenerate the blog post. Select a Tone from the drop down if you would like to regenerate the blog in a new tone:

Save the Blog Post
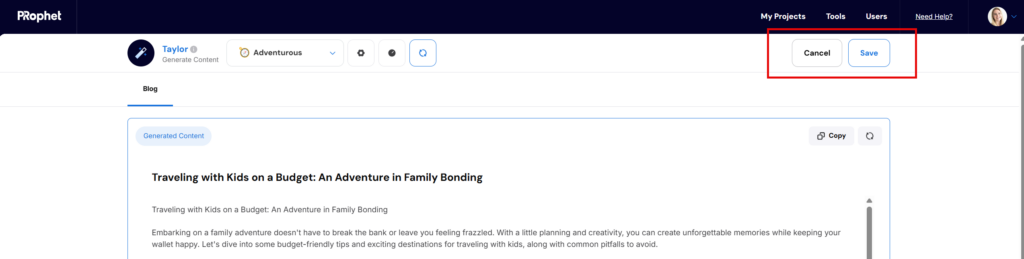
Click on the “Save” button in the top right corner of the page. Click “Cancel” to go back to the Project Folder:
View Previous Content Versions
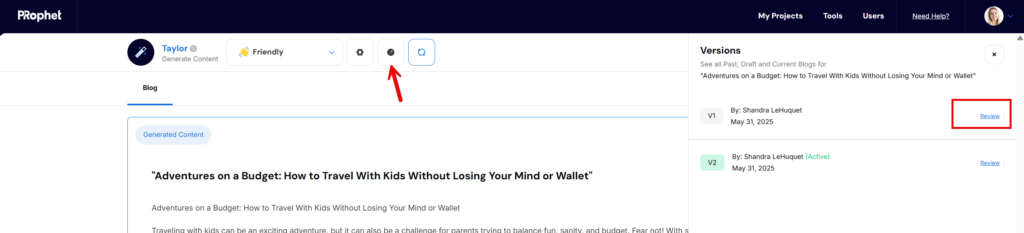
After your blog post has been saved, you can view previous content generations by clicking on the icon at the top of the page. The content generation versions panel will open and you can select to “Review” previous versions of content. Clicking the “Review” option will restore the content that was generated so it’s vislble in the main screen:
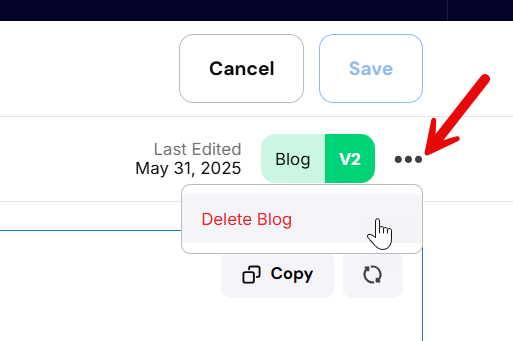
Delete Blog Post
Delete your blog post by clicking on the 3 dots in the top right corner and selecting “Delete Blog”: